|
|
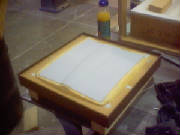
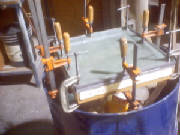
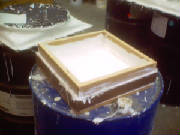
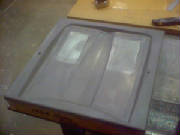
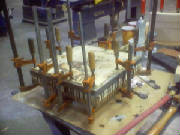
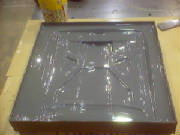
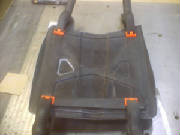
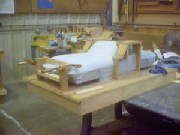
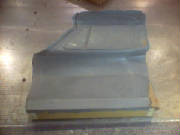
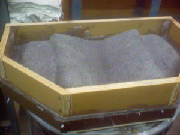
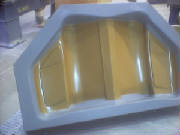
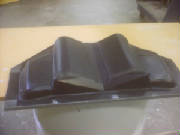
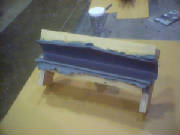
| Here is the hood mounted in the parting fixture ready to make the mold. |
|
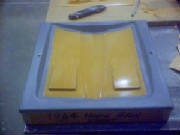
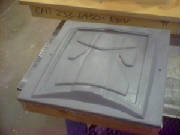
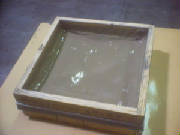
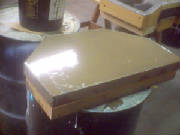
| A closer look at the first surface coat |
|
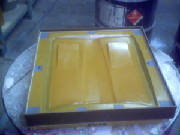
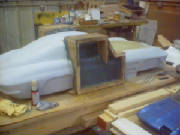
| Second surface coat applied |
|
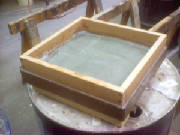
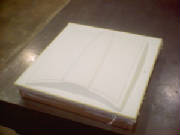
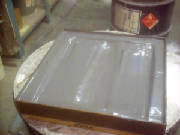
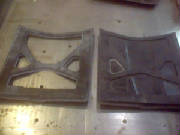
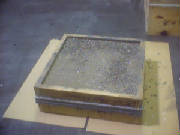
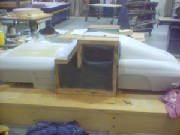
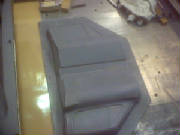
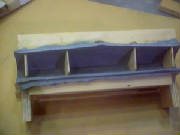
| two layers of 6 oz cloth and two layers of 9 oz cloth with the wood frame added last |
|
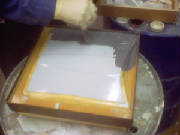
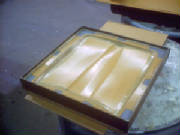
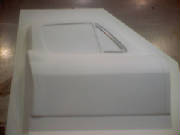
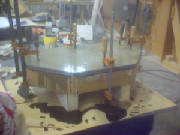
| Here I have the hood mold "Sheet Waxed" to simulate the thickness of the hood. |

|
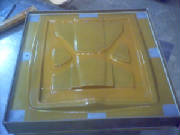
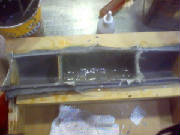
| I am applying the first "Surface" coat of Epoxy to the under side of the hood mold. |
|
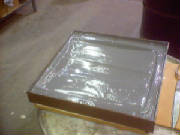
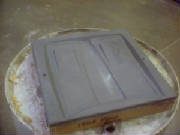
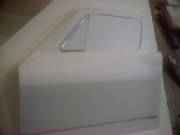
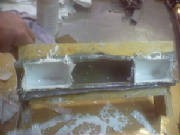
| The second coat of Epoxy Aluminium filled "Surface" coat. |
|
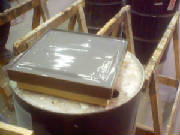
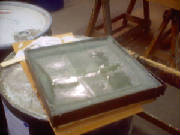
| Just finished applying 3 layers of 6 oz. cloth and 3 layers of 9 oz . cloth for stiffness. |
Next I will drill two 1/4" holes for the indexing pins. Then
remove the wax. and we are ready to make a hood skin that is smooth on both sides!
|
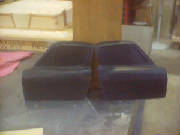
| First hood clamped in the mold |
|
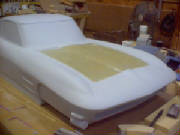
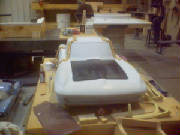
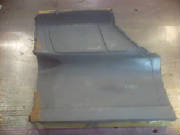
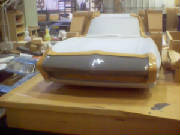
| First unprimed Hood on the Vette! |
From here I will be making another hood to be modified into
the "64 Corvette" hood with the "Indents" on both sides of the center ridge.
|
| Making "White" hood to modify into 63-64 hood. |
|
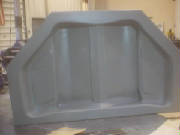
| "White" male mold out of the 65 mold ready to be modified into the 64 hood. |

|
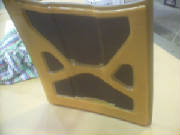
| 64 Hood Indents cut and the edges filled, Ready to make the outer skin mold. |
|
| 64 outer skin mold right of f of the "White" |
|
| 64 "Indents" have been sanded in this view. You can see the aluminium in the surface coat here, |
|
| 64 "Hood" area of the mold has been Sheet waxed with .0031 thick wax. |
|
| .0015 Sheet wax has been added over the Hood and out to the "Pinch off". then.0031 is added to edge. |
|
| Surface coat on the 2nd half of the 64 hood mold. |
|
| Here I have a 64 hood being "Pressed" |
|
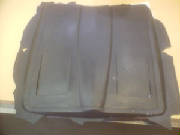
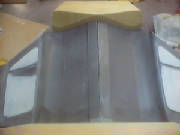
| This is the 64 Hood right out of the mold. Made just like the "Real" one! |
|
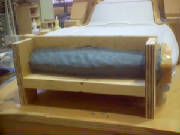
| The 64 hood has been trimed and fitted to the car. |
Next I am "Making " the inner Hood frame out of Sheet wax. I used
various thicknesses of wax to simulate the shape of the inner frame and to allow room for the hinges and latches to attach
to the hood.
|
| This is the orientation of he full scale hood, when up. |

|
| The hood has been Sheet waxed to simulate the inner hood frameand placed back in the mold. |
|
| Surface coat applied to the 64 hood frame mold. |
|
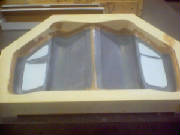
| Inside of the finished frame mold |
|
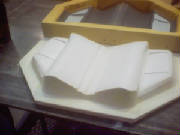
| .031 sheet wax applied to simulate the thickness of the material in the frame. |

|
| One "Hood Frame" still in the bottom half of the two piece mold |
|
| Two Frames, the one on the left has been trimmed and the one on the right is mounted on a "Hood" |
|
| Frame clamped to the hood to check for fit. |
|
| Here I have "Painted" the back side of the mold with Adtec to insure adhesion befor filling. |
|
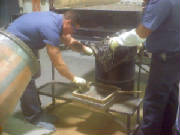
| Chris filling the second half of the hood frame mold while I take the picture! |
|
| Hood Frame mold filled, takes 48 hours to cure! |
Next, here I am making the plywood framework to support the
door skin molds, after I make them. Then I will wax the edges of the area of the molds, to keep the surface coat from getting
where I don't want it.
|
| Fitting framework for Door and Headlights molds |
|
| Left Door being molded |
|
| Right Door skin mold curing |
|
| Left door skin mold after removal from the Vette pattern. |
|
| Right Door skin mold before trimming |

|
| Fitting both door skin molds together to make one mold |
|
| "Tweaked" door "Glass" area to get all the edges in the same plane. |
|
| Perimiter structure and fillits added to door mold, Ready to make a "White" |
|
| Here is the finished "White" male mold the finished one piece female will be made from. |
|
| Right door portion of the "White" |
|
| Left door "white" |
|
| Getting ready to "Fill" the finished Door Molds |
|
| First half of the door mold is finished! |
|
| Waxing the Door Skin thickness Fo rthe second half of he mold |
|
| Here is the second half of the door skin mold, filled and curing |
|
| This is the finished inner door skin mold |
|
| A set of door skins in the mold "Curing" |
|
| First set of Door skins as they came out of the mold |
|
| I have them all trimed and ready to add the inner door frame. |
Next I will be making
the Headlight buckets
|
| Two Epoxy Surface coats applied to headlights. |
|
| Headlight frame and epoxy filler added to headlights. Waiting to cure! |
|
| Headlite mold just "Popped" from the Vette |
|
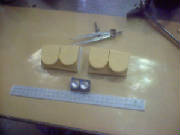
| Locating ends of the headlite "Buckets" with 4 wood blocks spot glued and melted wax to seal gaps. |
|
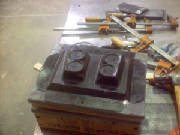
| headlite "Bucket" 4 piece mold all layed up. |
|
| First set of Headlight buckets in the mold |

|
| Here I have them trimed, ready to add the Headlight "Doors" |
|
| Adding "Lumber" from which I will carve the Headlight Door "PLugs" |
|
| Carved, ready for finish fillits |

|
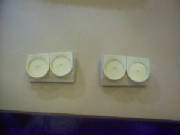
| Completed head light door mold. Makes both doors at once! |
|
| First set of headlight doors fresh out of the mold |
|
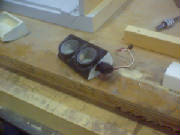
| Headlight door mounted to a bucket and servo installed for rotation. Neat, HUH? |
|


